Once the instructor has created the link to the Voice Direct tool, anyone with access to the Blackboard course can access it by clicking on the link. Below are instructions for using the tool.
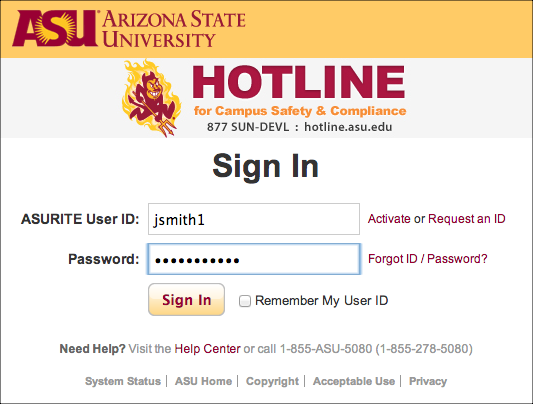
1. Visit My ASU.
2. Sign in using your ASURITE ID and password.
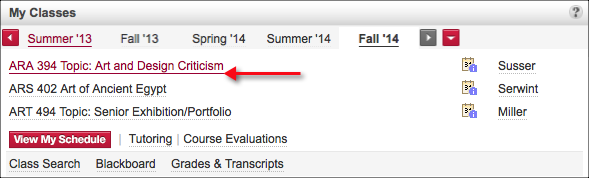
3. Access your class by clicking on the course name.
4. Click on the
Content Area where the voice chat link resides.
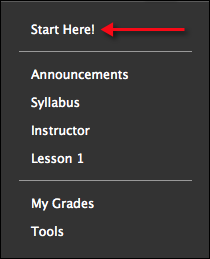
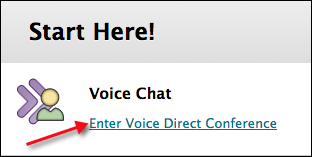
5. Click on the
Enter Voice Direct Conference link.
6. You may be asked to
install or activate the Java applet. Java is critical for Voice Chat tool to work so you need to click the link.

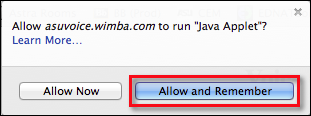
7. Click
Allow Now to run the applet for this time. Click
Allow and Remember if you will be using this tool regularly.
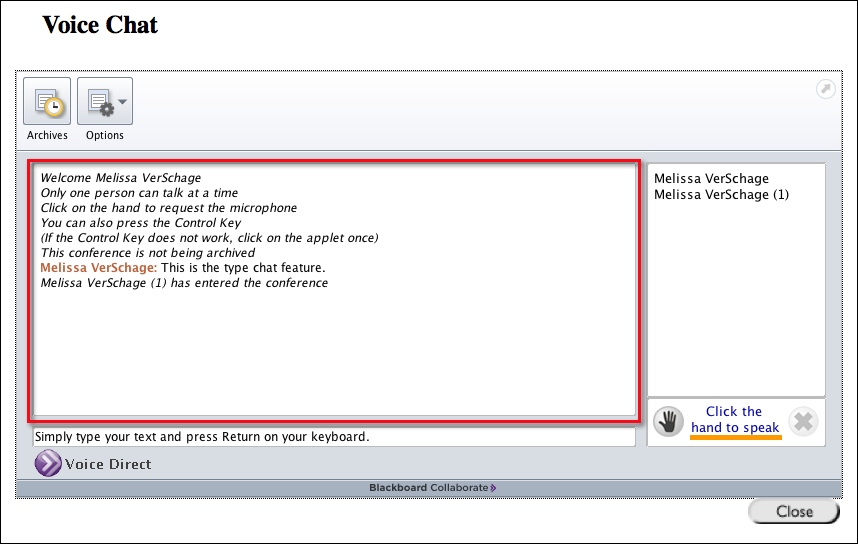
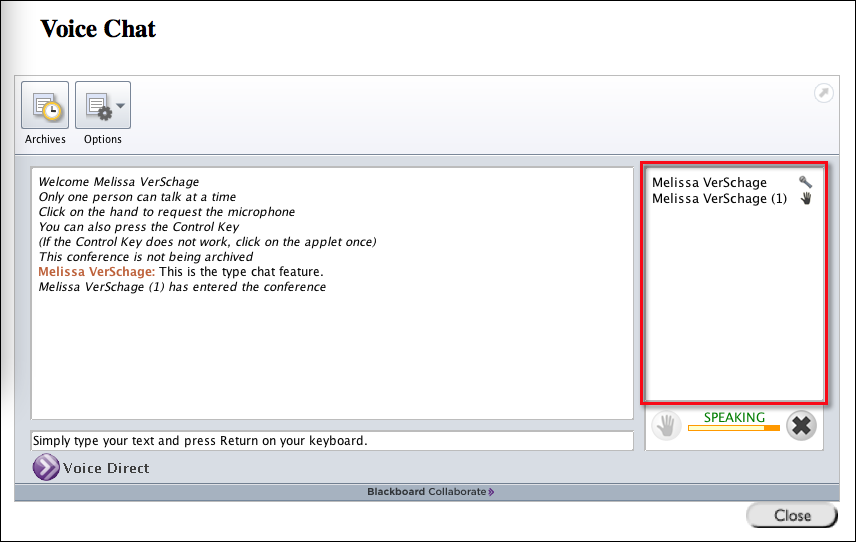
8. The
Status Window will list each event that occurs while the chat is open. For example, when someone joins the chat, a statement that the person has joined appears. It also displays any typed chats that have been submitted.
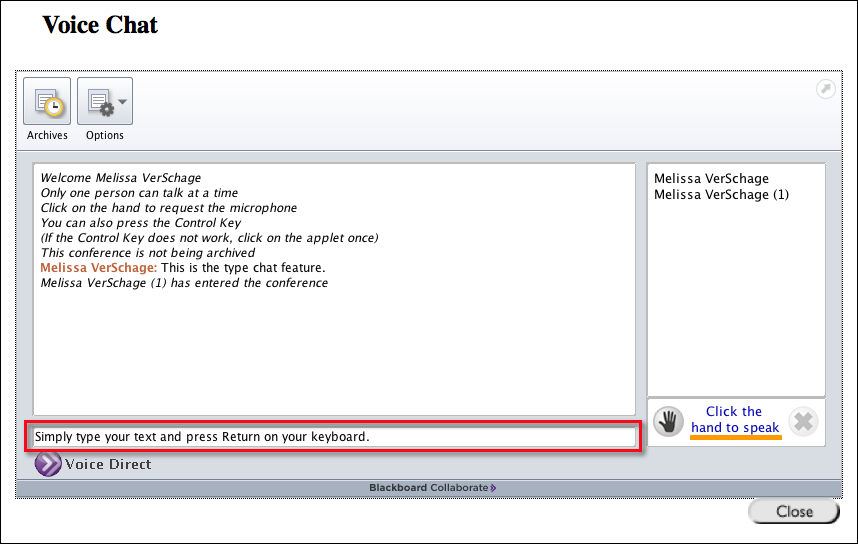
9. If someone has the microphone and you wish to interject (or if you don't have a microphone), you can simply type in the
type chat box under the status window and press
Return on your keyboard. Your text will appear in the status window above.
10. The names of the participants are currently logged into the chat will appear in the panel on the right.
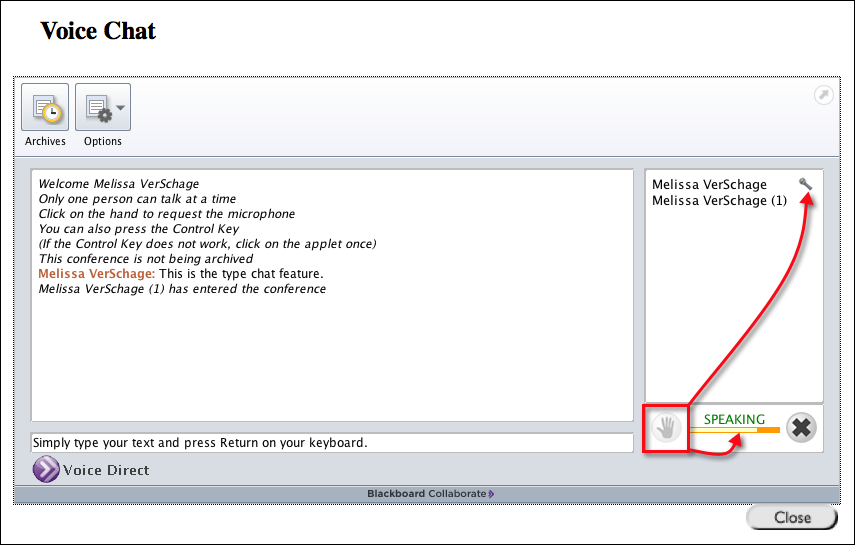
11. Speaking in the Voice Chat is like using a walkie talkie. Only one person can talk at a time. To activate your microphone, click the
Hand Icon. If no one has the microphone when you request it, a
microphone icon will appear next to your name. Wait 3 seconds then speak, otherwise you will be cut off. When you are talking, the
orange bar will move to indicate that your voice is being broadcast.
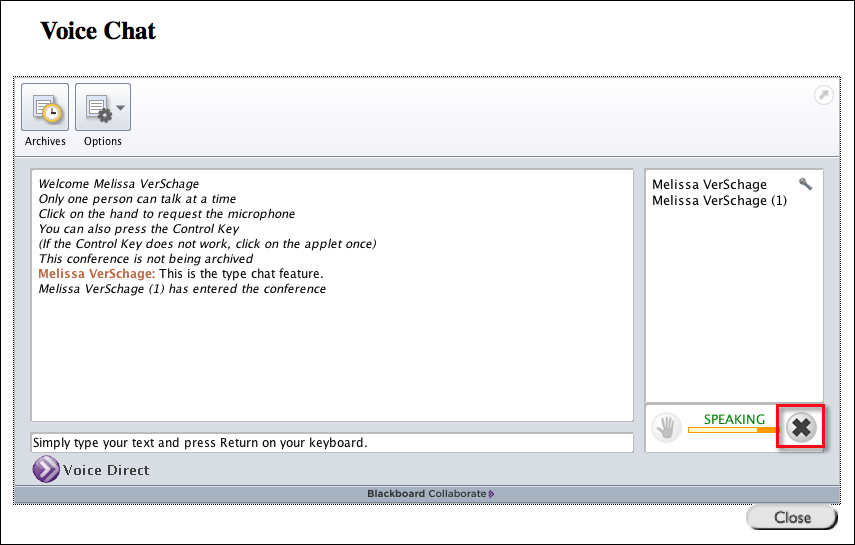
12. To stop speaking and allow someone else to have the microphone, click the
X icon. If someone has requested the microphone, a hand will appear next to his or her name. Once you've clicked the X, the microphone will automatically be given to the person who requested the microphone first.
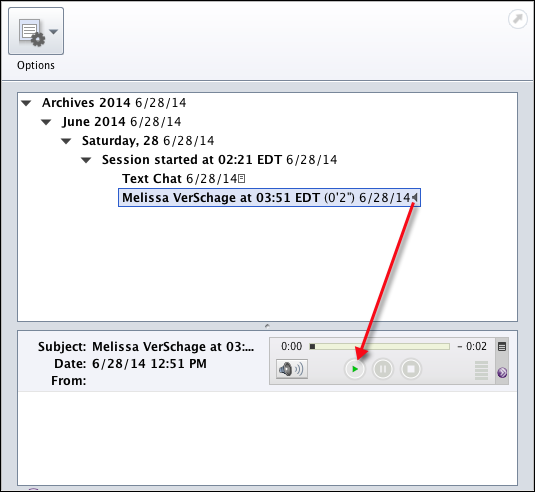
13. A history of the chat is stored in the Archives section at the top of the page. Students and Instructors both have access to the archived chats. Each time the tool is used, a new recording is made for that date. To access it, first click Archives

14. You'll see a separate archive for each date. Within each date, you'll have month, day and sessions listed. You can see all the levels by clicking
Options, then click
Expand All.
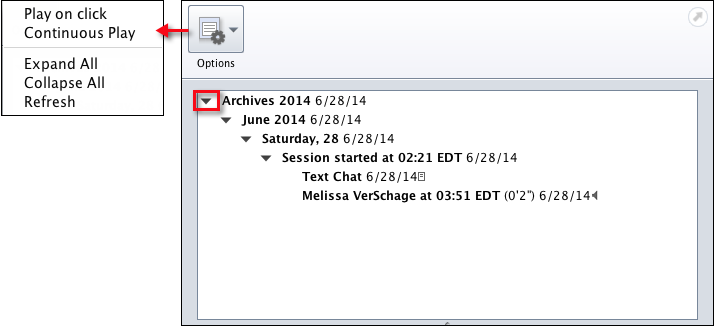
15. Notice at the
Session level, when you click on an individual entry, you can see either text that was typed or have the
Play button to play the recorded audio.