Note: This article is intended for users who are seeking to manually configure their ASU wireless connection on Windows 7 and is not our recommended primary method. Before attempting to manually configure, please try to connect using our primary method: How Do I Setup ASU Wireless on Windows 7?.
Manual Configuration Steps:
1. First, open the Network and Sharing Center by clicking on your Wireless Network icon in the bottom right corner of the screen.
2. In the window that comes up, choose Manage wireless networks in the list on the left. You will be presented with a window with this at the top:
Select Add.

a. Choose Manually create a network profile.
3. Name the new connection asu.
4. Choose WPA2-Enterprise as the Security Type and AES as the Encryption type. Then click Next.
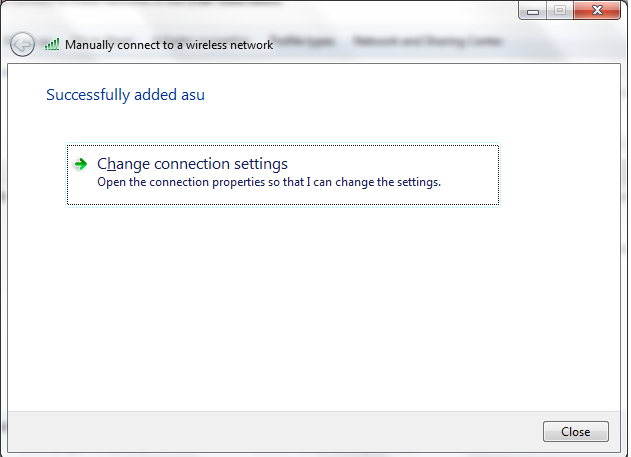
5. Click Change connection settings.
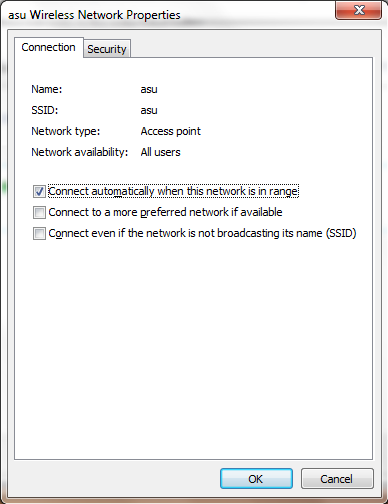
6. On this page choose the Security tab.
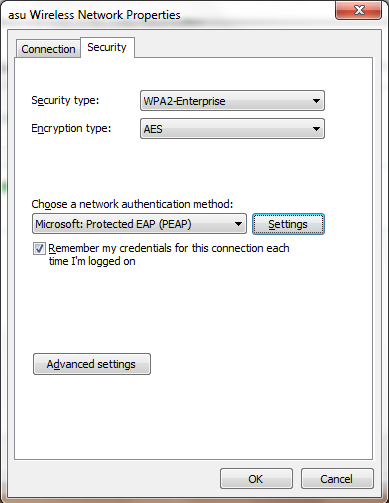
7. Verify that Security type is still WPA2-Enterprise, Encryption Type is AES, and Choose a network authentication method is Microsoft: Protected EAP (PEAP) as in the screenshot below.
8. Then click Settings. Do not select Advanced settings.

9. Be sure that you have checked Validate server certificate and that you choose the following under Trusted Root Certification Authorities:
- AddTrust External CA Root
- Class 3 Public Primary Certification Authority
- DigiCert High Assurance EV Root CA
- DST Root CA X3
- Entrust.net Certification Authority
- Entrust.net Secure Server Certification Authority
- Equifax Secure Certificate Authority
- Equifax Secure Global eBusiness CA-1
- GlobalSign Root CA
- Go Daddy Class 2 Certification Authority
- GTE CyberTrust Global Root
- Thawte Premium Server CA
- thawte Primary Root CA
- Thawte Timestamping CA
- Verisign Class 3 Public Primary Certification Authority
- Verisign Trust Network

10. Then click Configure next to the menu that says Secured password (EAP-MSCHAP v2).
11. In this window be sure that the box is unchecked and select OK. You will be returned to the previous screen. Select OK again.

12. This will bring you back to the window shown below.
13. Click Advanced settings.

14. Make sure the checkbox next to Specify authentication mode is checked. Choose User authentication from the drop down menu below, then click Save credentials.
15. The following window will open up.

16. Enter your ASURITE ID in the first field and your password in the second and click OK.
Need additional help? Access 24/7 live chat, create a case from your My ASU Service Center or call 855-278-5080.

